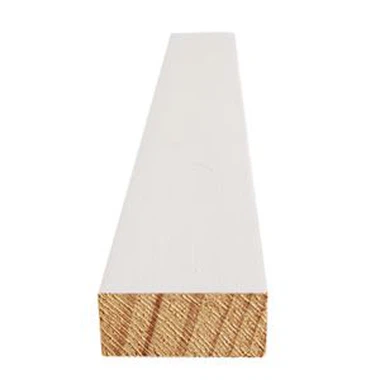
How to install wood baseboards?
Jan 30, 2024
Installing wood baseboards is a relatively straightforward process that can be done with basic tools. Here's a step-by-step guide on how to install wood baseboards:
Tools and Materials Needed:
Wood baseboards
Measuring tape
Miter saw
Coping saw or jigsaw
Nail gun or finishing nails
Carpenter's glue
Caulk
Wood filler
Sandpaper
Level
Pencil
Step-by-Step Installation:
Measure and Cut:
Measure the length of each wall where you'll install the baseboards. Use a miter saw to make 45-degree angle cuts at the ends of each baseboard piece for corners. For inside corners, you may need to use a coping saw or jigsaw to create a coped joint.
Prep the Walls:
Ensure the walls are clean and free of dust or debris. If there are imperfections, you may want to fill them with wood filler and sand the surface smooth.
Apply Carpenter's Glue:
Apply carpenter's glue to the back of the baseboard where it will contact the wall. This helps ensure a strong bond between the baseboard and the wall.
Position the Baseboard:
Place the baseboard against the wall, starting at one corner. Use a level to ensure it is straight. If the floor is uneven, you may need to make adjustments to keep the top edge level.
Nail or Fasten:
Use a nail gun or finishing nails to secure the baseboard to the wall. Nail along the top edge, ensuring the nails go into the wall studs. Space the nails every 16 to 24 inches for secure attachment.
Repeat for Each Wall:
Repeat the process for each wall, making precise cuts for inside and outside corners. Ensure tight joints at corners and use a coped joint where necessary.
Fill Nail Holes:
Fill any nail holes with wood filler. Allow it to dry, then sand the filled holes for a smooth finish.
Caulk Gaps:
Caulk any gaps between the baseboard and the wall for a finished look. Use paintable caulk if you plan to paint the baseboards.
Paint or Stain:
Once the baseboards are installed and any filler or caulk has dried, you can paint or stain the baseboards to match the room's color scheme.


