How to make curved wood moulding
Aug 26, 2020
There are many times when you want to wrap a bead board around the tub, put it in a pedestal and then close the top piece of the baseboard.
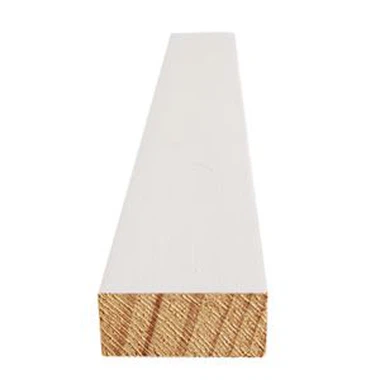
The additional detail of the border emphasizes the shape of your bath is gorgeous, and it is a few feet of flex molding that would not cost too much. That's when I discovered there's a flex - the molding of wooden parts that would work. As the name suggests, it should be bent, but you will not bend it to the smallest curve you can feel. But if you soak the wood and have patience, it can bend a bit more than you think, which can be good for your home and even for fun.
It depends on your flexibility, but usually you need to bend the ledge to seal the arch at the top of the window crowns to ensure the best possible fit and finish. I formed a wall that is very flexible, bent to the approximate radius of an arch and bent around the wall.
Even with pre-bent shapes, the material remains flexible, even with slight adjustment variations, and does not cause any problems. For example, I cut the square shaft back so that the baseboard becomes flexible and covers the cutting marks and slightly bent the beech bed.
With sufficient adhesive and drying time it is possible to pre-assemble the cladding in this way, but a piece of cladding can be a bit tricky. This method works best when the wall covering fits piece by piece, So here are a few tips to make it easier.
Cookies and dominoes are a great way to manufacture pre-assembled panels, but give the glue plenty of time to put before installing the paneling. Put the pieces of jam together from the biscuits and dominoes and make sure you first attach the jam and legs. If the trimmed profile is thick enough to hold the cones, the biscuit dominoes can be used to strengthen the joints.
Finger-made means that each piece is made from the best part of several pieces of wood, which are then (if you do not care about matching colours or patterns) assembled in such a way that the pieces form a long length. With a radius larger than the wood mouldings, you can be sure that all lengths will be glued together in the way you see - tooth-like. If you pass the throat through a mould and glue them all together, the joints will become clear, but not as clear as if they had been cut.
If you start with the thickness of the panels, you cannot plane the misalignment of the joints, and the final covering must be 3 / 4 '' thick. In order to achieve the long lengths desired in the construction industry, it becomes economical to cut lower quality wood, but with the remaining quality of wood needed for the longer lengths, if only the quality wood is used. You cannot start with unplaned wood because you would start with a bit thicker wood.
The groove grain must be embedded in such a way that it passes through the slots, not through the length of the grooves, and it should be aligned with the wood.
If you have more vision and something to hang the clamp on, you can leave a piece of wood in line with the outside of the arch.
A badly executed installation can ruin the pretty highlight of your home, and in order to save money, these elements are often finished with drywall in return. Whether you are milling or buying your trim bars, creating curved tops is crucial. With the Woodmaster planer, much of it is made from your own straight-curve cutting edge, but you can also add arches and trim bars in a variety of other ways, such as in the shape of a log.
As with any arc-forming project, there are a few general rules to follow: Beginning at one end of the curve, nail a piece of skirting board to ensure that it remains even and perfectly lined up.
At the end a row of 1' '' skirting boards will form a nice tight curve around the wall. When you have reached the end of the bend, finish the walls by cutting a piece of long baseboard to length. Make the cut so that one end goes through the other, and vice versa, so that you don't have to make the cuts until you're done.
This process is called "kerfing" and allows you to bend the panels into the walls during installation. The cuts should be identical to the first cut in the base plate, but only about 1 / 8 inch apart, although they may be further apart if you have a flat curve around the wall. When you cut the board, it becomes weaker and more flexible, so you need an assistant to hold it.