Baseboard Installation Steps
Jan 22, 2019
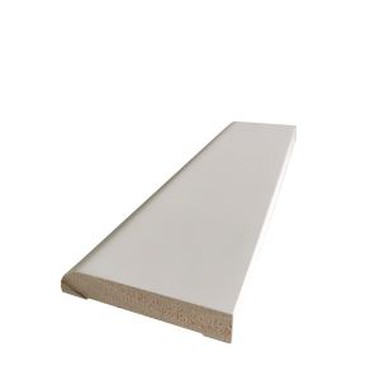
Step 1: Measuring length preparation materials
The length of the Baseboard is fixed long, and the length of the Baseboard required for each block is different. Therefore, it is first necessary to measure the length of the Baseboard required for each segment.
Step 2: Cutting the Baseboard
After using the tape measure, pencil, etc. to determine the required length of the Baseboard, use a tool such as sawtooth to cut.
Step 3: Install the Baseboard
The Baseboard installation is generally completed after the ground and wall construction is completed. Before the Baseboard is installed, the position of the Baseboard has been reserved when the floor is laid. Before installing the Baseboard, the small wooden block in the reserved position is removed, and then the Baseboard of the appropriate length is inserted into the reserved seam.
Step 4: Skirting the corners
The Baseboard at the corner is generally cut by cutting the edge of the corner into a 45-degree angle and then fixing it. The effect of this treatment makes the Baseboard still natural and beautiful in the corner position.
Step 5: Fix the Baseboard
Although the Baseboard snaps into the seam, it is necessary to take measures to make it more fixed. The tools that are needed to secure the Baseboard are mainly floor nails and hammers. Secure the Baseboard and then nail the floor into the Baseboard to securely attach the Baseboard to the wall.